How to Mint a APY.Vision Subscription NFT
What is APY.vision Subscription NFT?
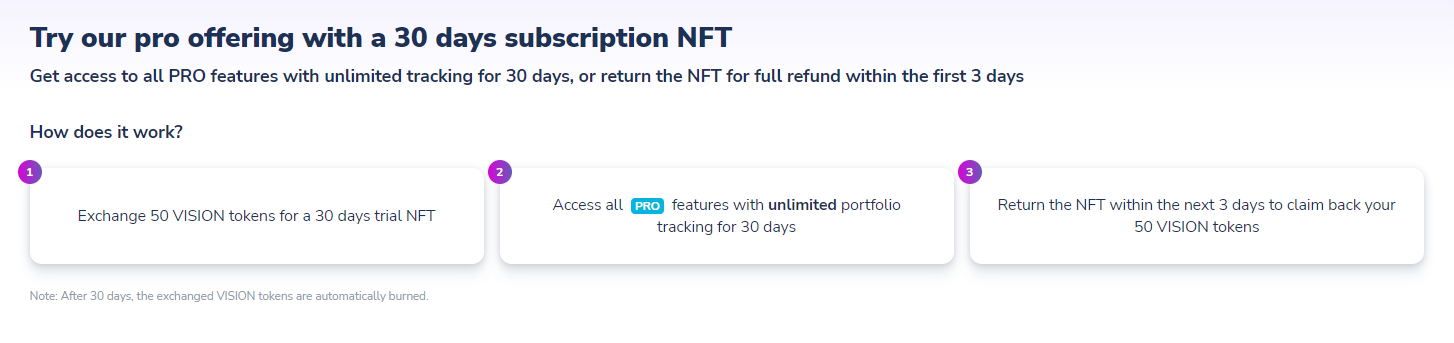
The APY.vision subscription NFT is a new program that lets users try out the Pro version of APY.vision for 3 days at no cost! 50 VISION tokens are needed to mint the NFT, but if you do not like the product you can return the NFT and get the 50 VISION tokens back as long as it is returned within 3 days.
If you keep the NFT longer than 3 days you will automatically be enrolled in a 30 day subscription that allows for unlimited portfolio tracking.
What you will need to mint the APY.vision subscription NFT
- Metamask wallet
- MATIC tokens in your Polygon/MATIC wallet for gas
- 50 VISION tokens in your Polygon/MATIC wallet
Setting up the Polygon/MATIC network with your Metamask wallet
First, you will need to configure your Metamask wallet to connect to the MATIC network. You will need to open Metamask and click on the Network selection dropdown and then click on Custom RPC.
Here is the list of the parameters so you can easily copy them:
Network Name: Matic Mainnet
New RPC URL: https://polygon-rpc.com/
Chain ID: 137
Currency symbol: MATIC
Block explorer URL: https://polygonscan.com/
Fill out the empty fields and click on Save. You will be directly switched to Matic’s Mainnet now in the network dropdown list. This process adds the MATIC network to the list of available networks you can switch to from within Metamask. Sometimes it is helpful to switch networks (i.e. switch to the Ethereum network and then back to Polygon) when Metamask is acting strange or if you are having trouble getting things to show up.
How to Mint the APY.vision NFT
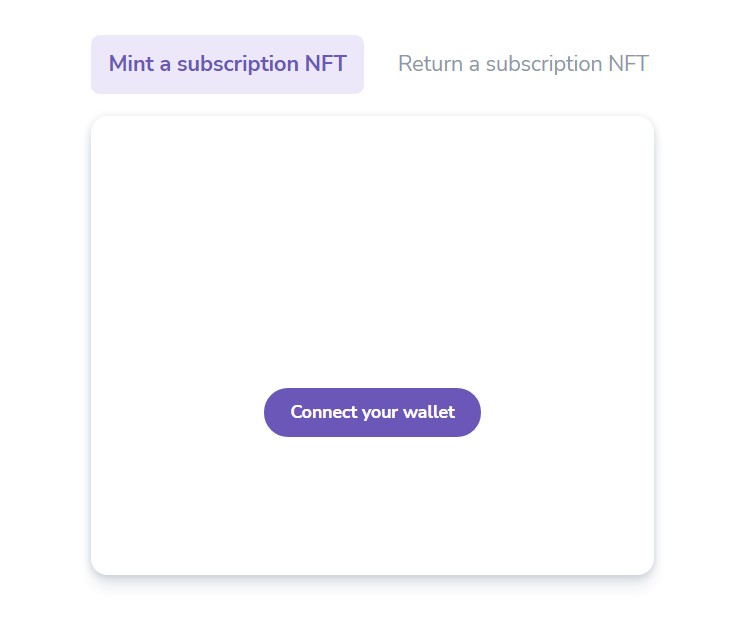
Navigate to https://app.apy.vision/subscription and you will be presented with an option to connect your wallet.
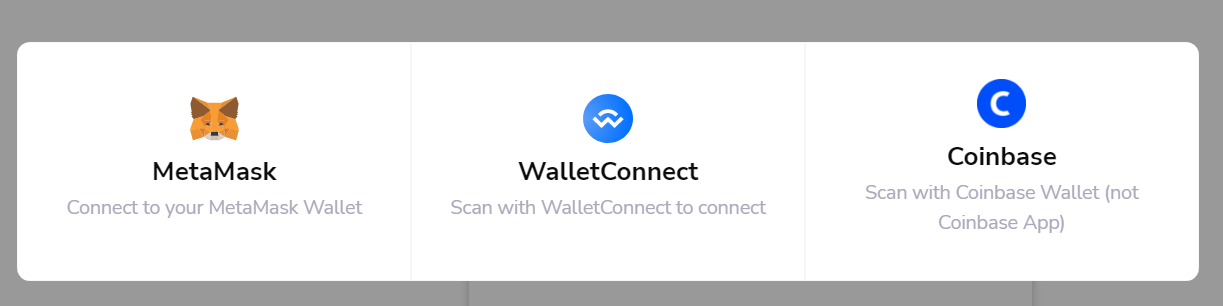
There are 3 wallet connection options available: Metamask, Coinbase Wallet and Wallet Connect. Connect to the wallet that has the 50 VISION tokens in it.
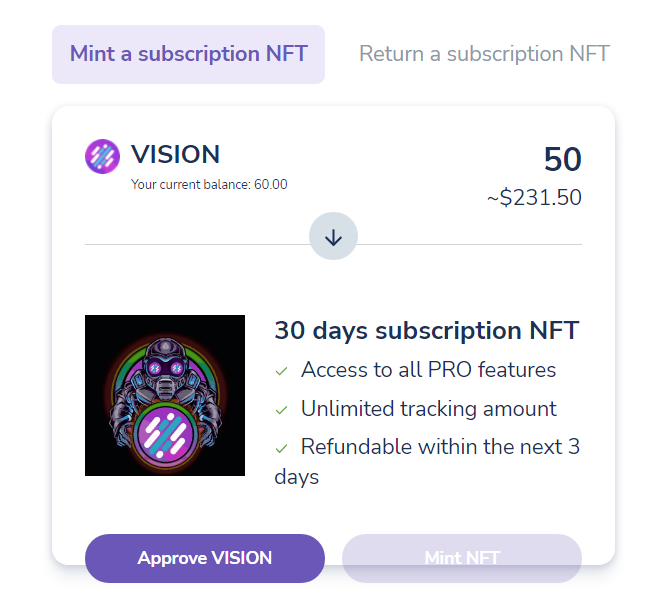
You will then be presented with the screen below. You will need to “Approve” VISION with one transaction, and then you will be able to mint the NFT with a second transaction.
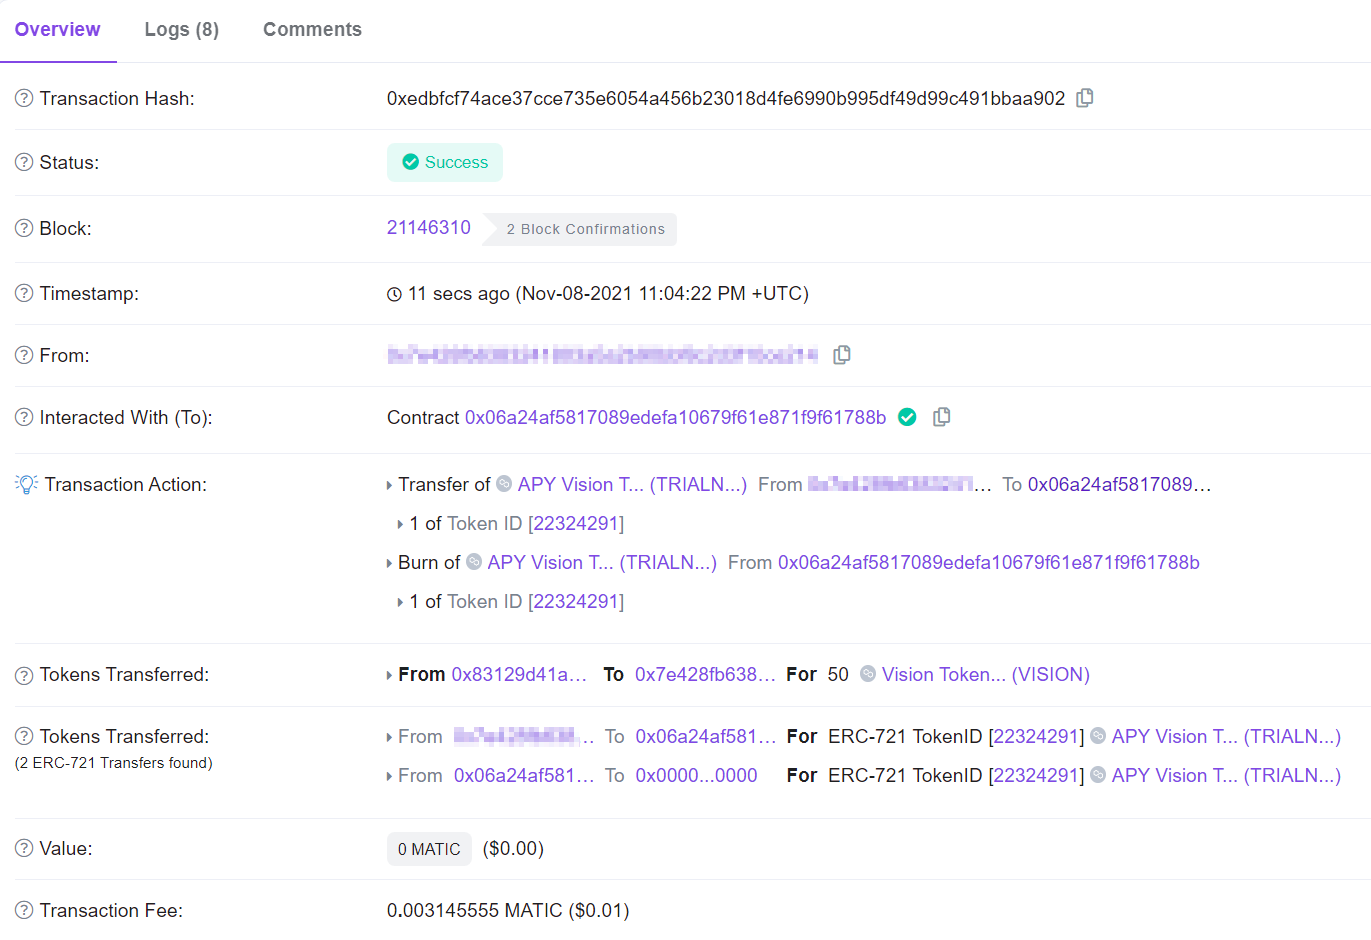
A confirmation window will appear and you can follow a link to Polygonscan to verify the NFT was minted correctly. It should appear similar to the picture below.

Once you have confirmed the NFT has been minted, you can proceed to the next step of Logging in as a Pro!
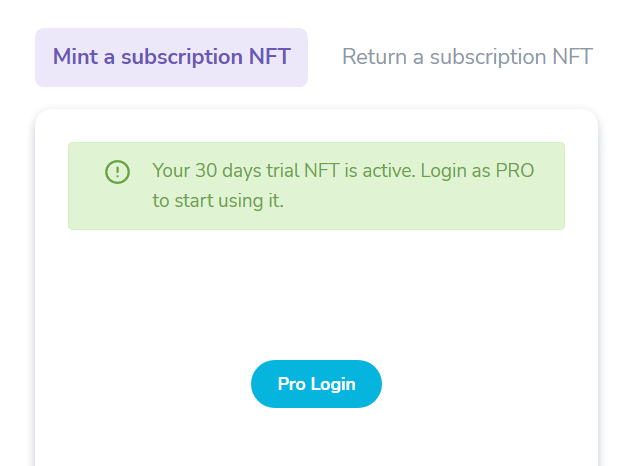
Use one of the “Pro Login” buttons either on the minting page or on the dashboard using the same wallet you used to mint the NFT. If you are having issues, verify in Metamask that the correct wallet is connected.
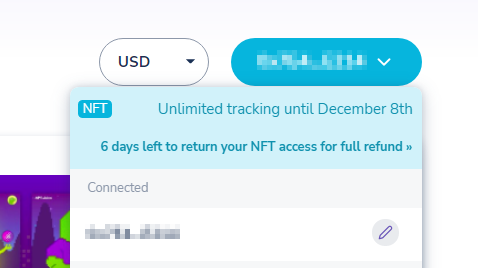
Once you have logged in you can check the status of the NFT by clicking the wallet dropdown menu. It will share the details of your subscription as well as the return date to get your full VISION refund!
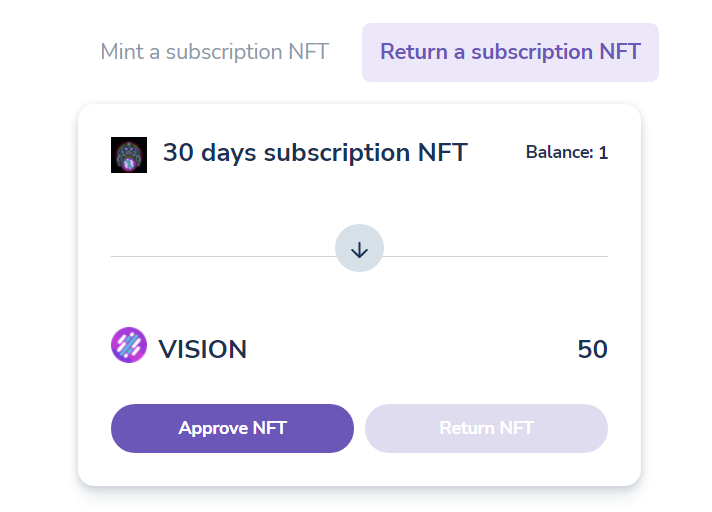
If you would like to return the NFT and get your VISION tokens back, navigate back to the minting page and select the “Return a subscription” tab. Once again you will need to “Approve” the NFT with a transaction before you can complete the second transaction.
After hitting the “Return NFT” button you can check the transaction on Polygonscan . It should resemble the picture below.
Once the transaction is completed you can check your wallet and the 50 VISION tokens should be returned and in your balance.